Creating a project
The standard flow: one survey file in, one augmented dataset out.
1. Upload your survey file
Go to New Project and drag your Excel survey file into the dropzone (or Click to select).
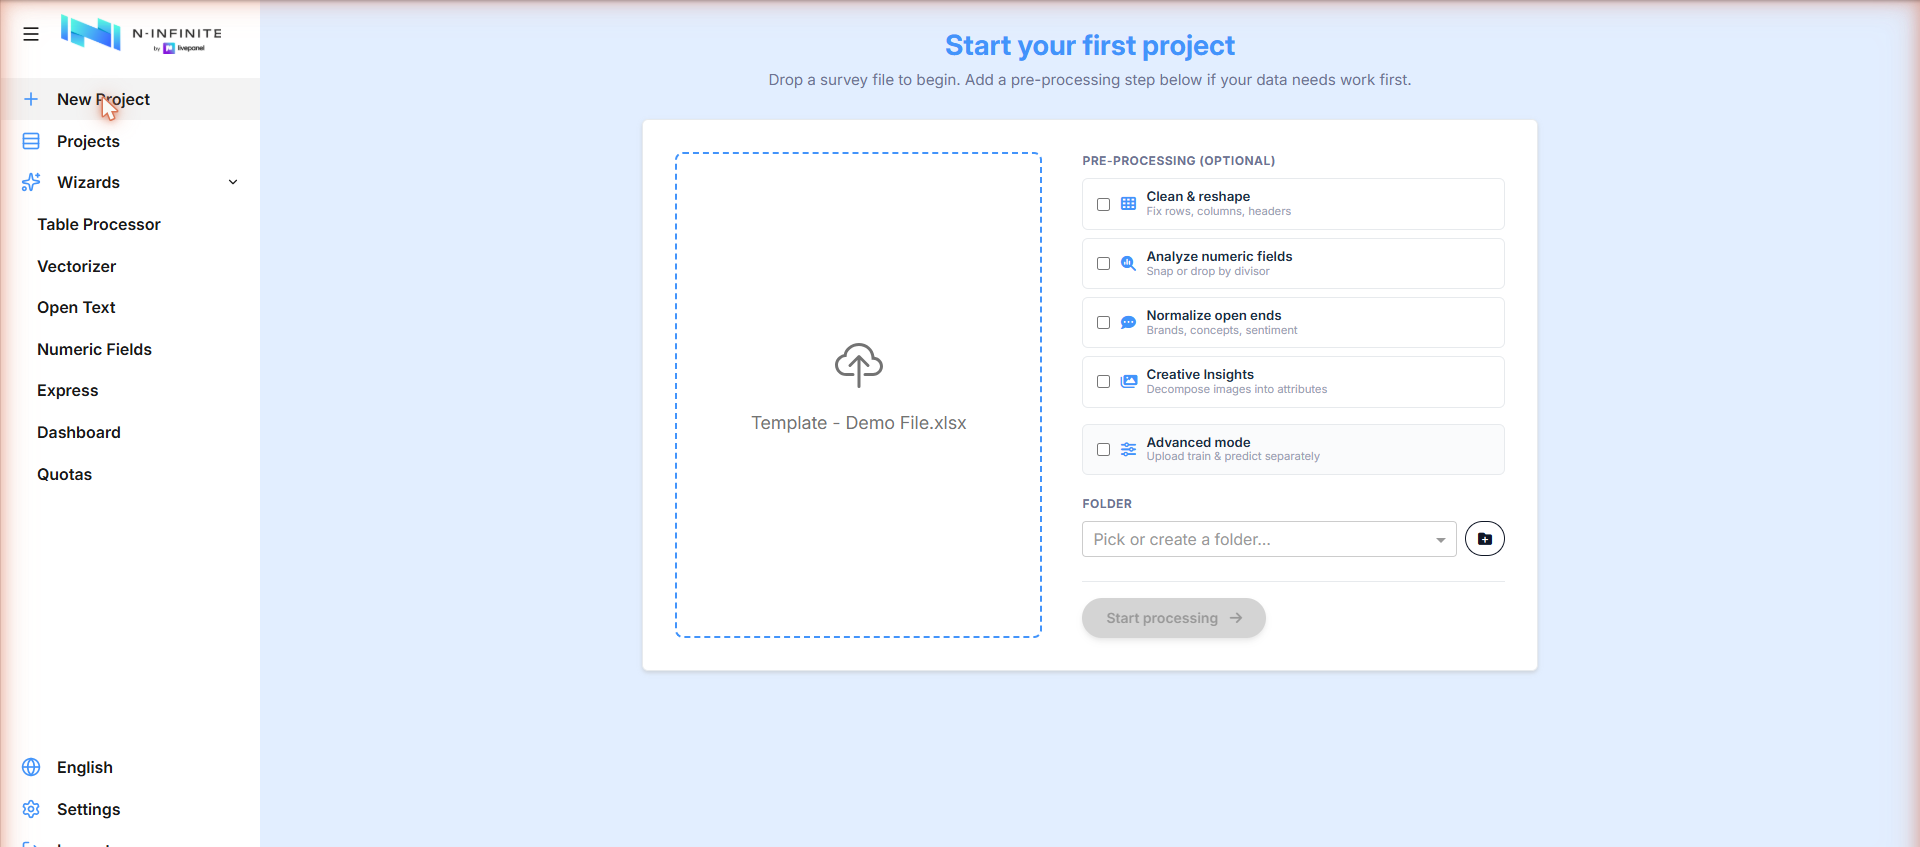
The file should be a survey export with one row per respondent and one column per question.
2. Pre-processing (optional)
If your data needs work before modeling, tick any of the pre-processing steps:
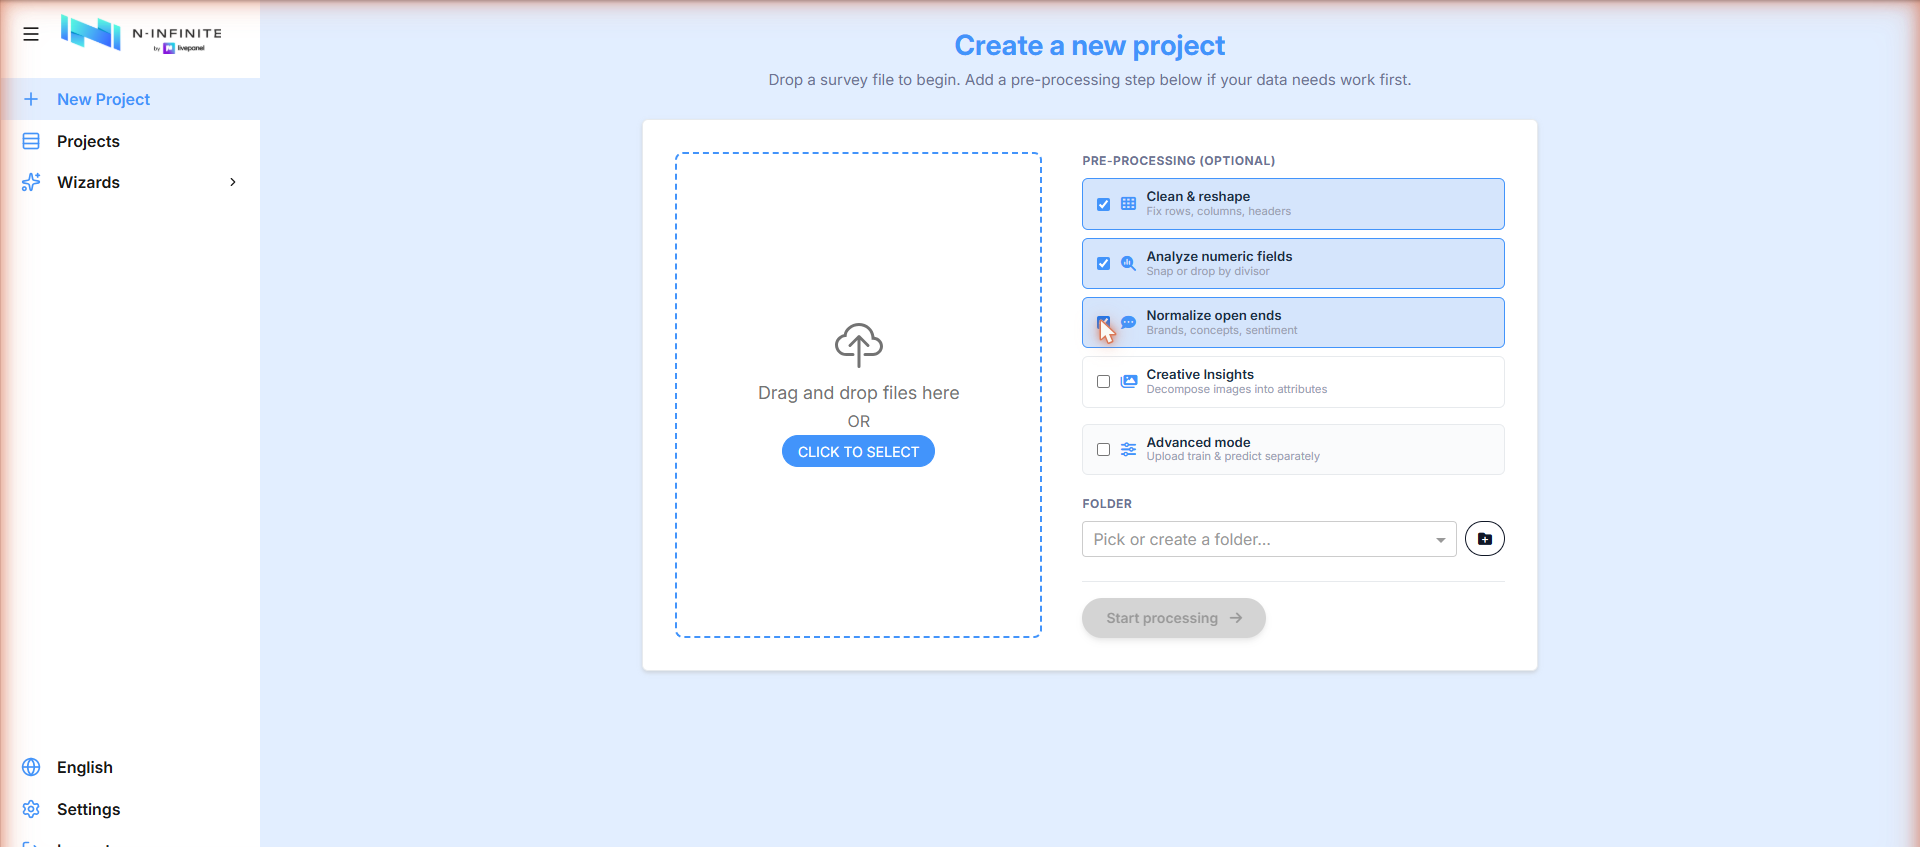
| Option | What it does |
|---|---|
| Clean & reshape | Fixes rows, columns and headers |
| Analyze numeric fields | Snaps or drops numeric values by divisor |
| Normalize open ends | Normalizes open-ended answers: brands, concepts, sentiment |
| Creative Insights | Decomposes images into attributes |
| Advanced mode | Upload train & predict files separately — see Advanced mode |
Each option is covered in depth in Pre-processing.
3. Pick or create a folder
Every project must belong to a folder — the basic organizational unit of your account. Old projects may still appear on the general Projects screen, but new projects are always created inside a folder. Choose an existing one or create a new one with the folder button:
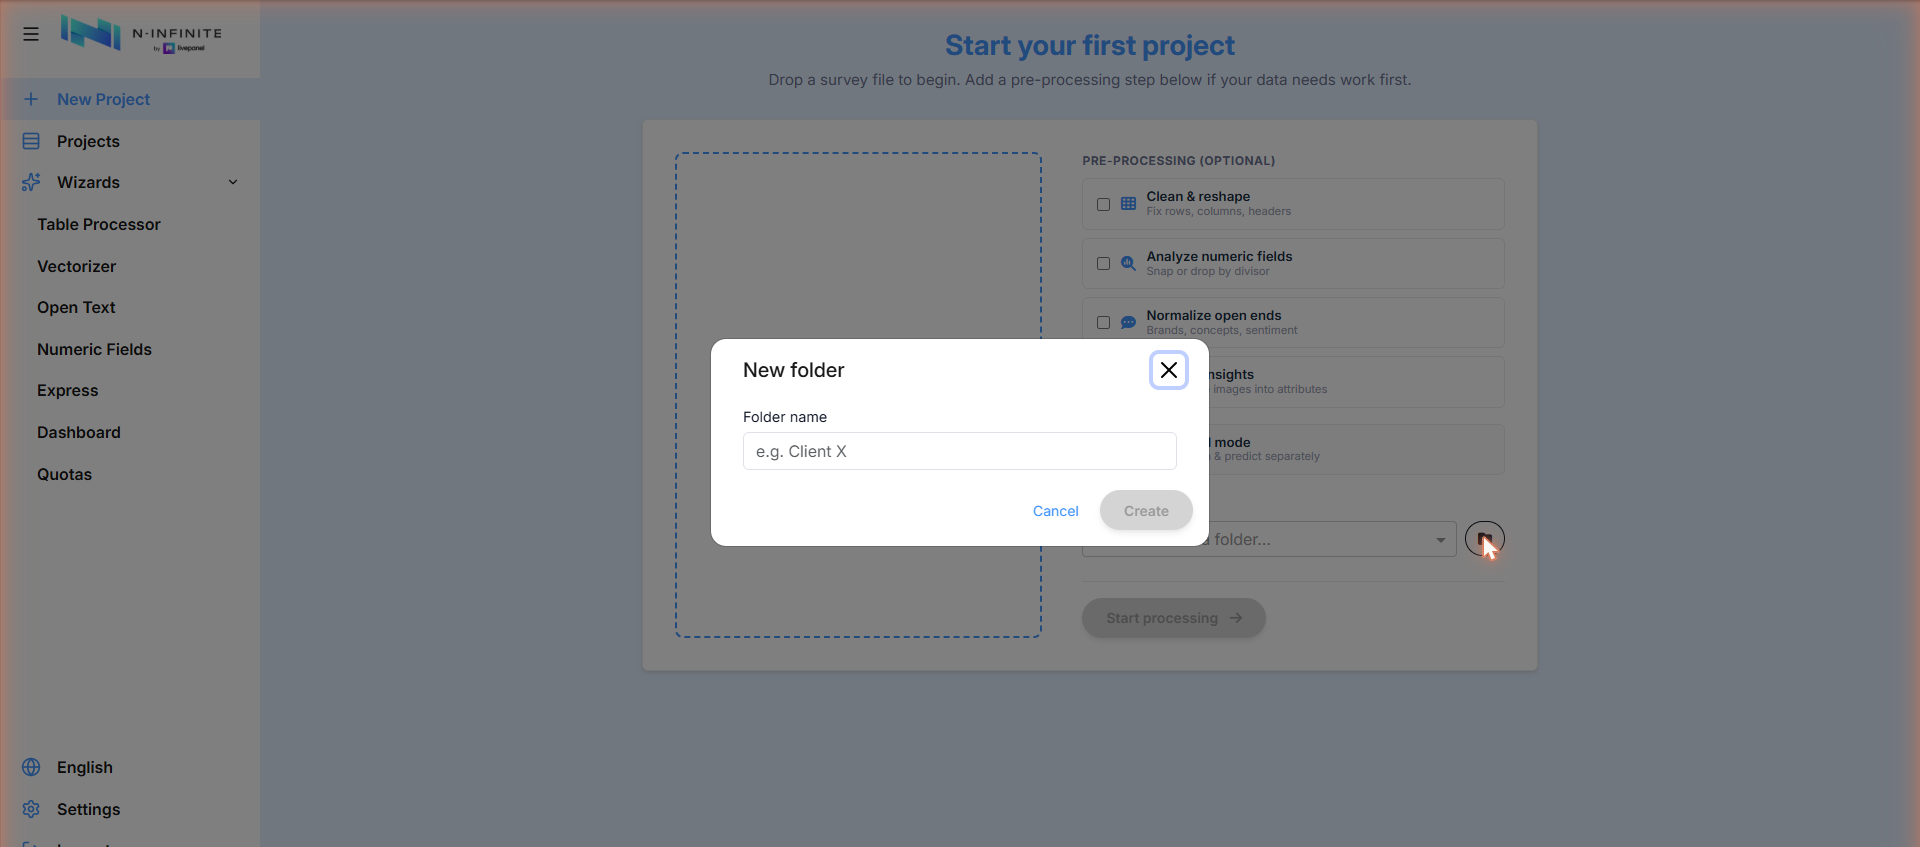
The Start processing button enables once the file and folder are set.
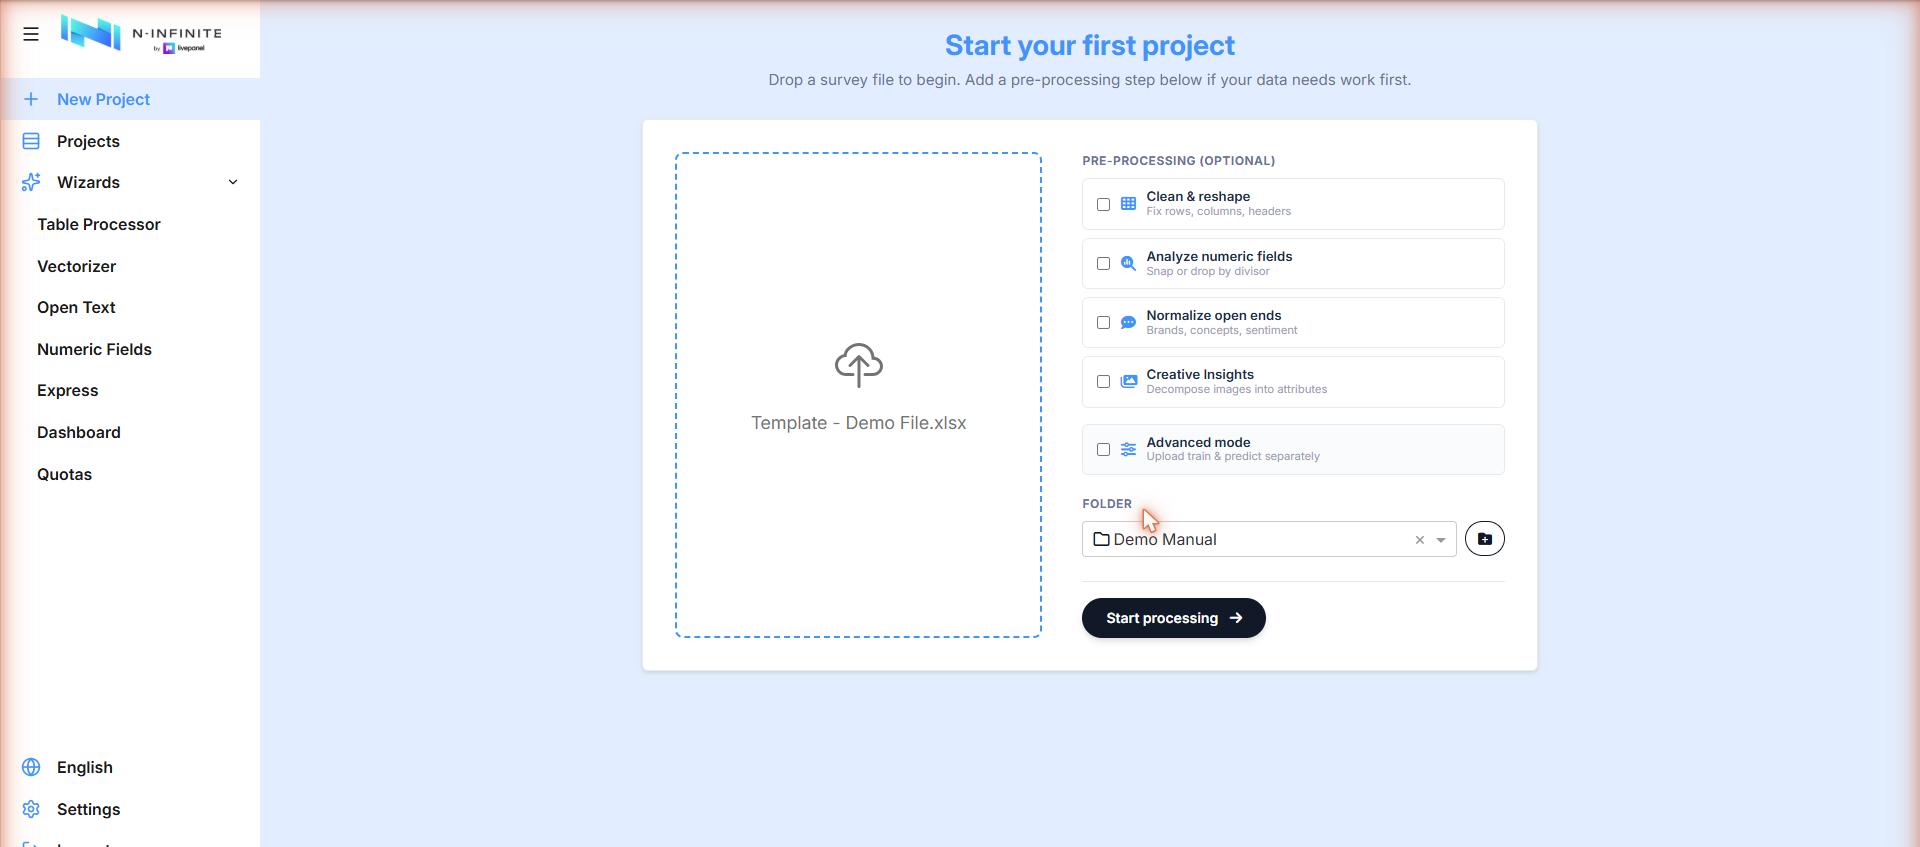
4. Start processing
Click Start processing. The project is created and training starts automatically — you are taken to the Projects list where you can follow its progress. See Monitoring & results.